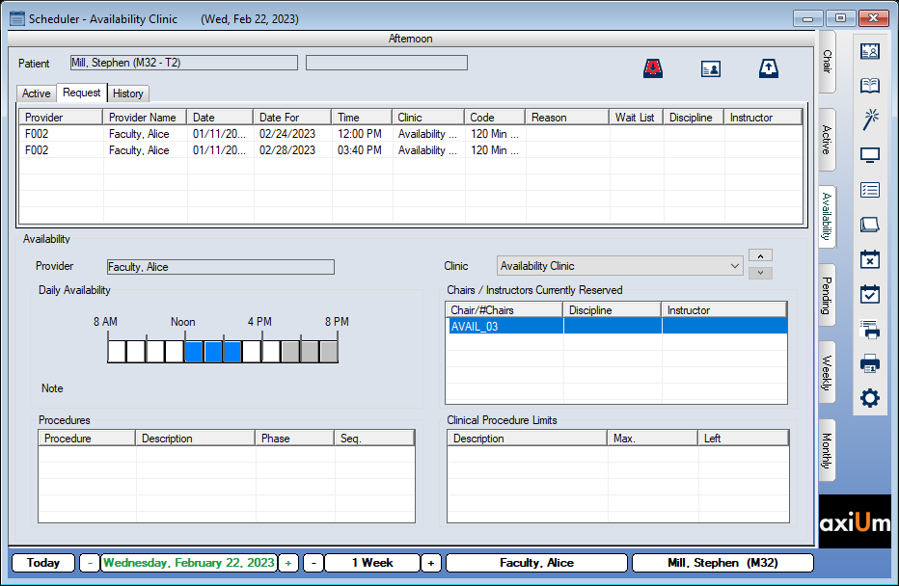
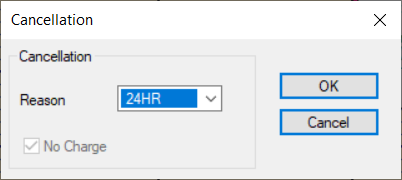
Appointment requests are managed from the Availability tab. The Availability tab allows group managers and scheduling clerks to work with appointment requests and appointments without having to use the Active and Chair tabs.
Important: This tab is only applicable for staff that work in Availability mode to schedule appointments.
Note: Depending on your role and the workflow used at your institution, you may still choose to work minimally in those tabs.
Daily Availability Colors
The Daily Availability area indicates the selected provider’s availability for the selected day. The time blocks may display in different colors:
-
White ( ): This indicates the chair is not reserved by anyone.
-
Yellow ( ): This indicates the chair is reserved without an appointment made yet.
Note: If using Availability mode correctly, this color should not display.
-
Red ( ): This indicates that the chair is reserved for another person with a student-entered appointment.
-
Blue ( ): This indicates that the chair is reserved for another person with a staff-entered appointment.
-
Green ( ): This indicates that the chair is reserved for the student currently logged in.
-
Grey ( ): This indicates that this is an unavailable time slot.
-
Bronze ( ): This indicates that the time is scheduled off for a holiday.
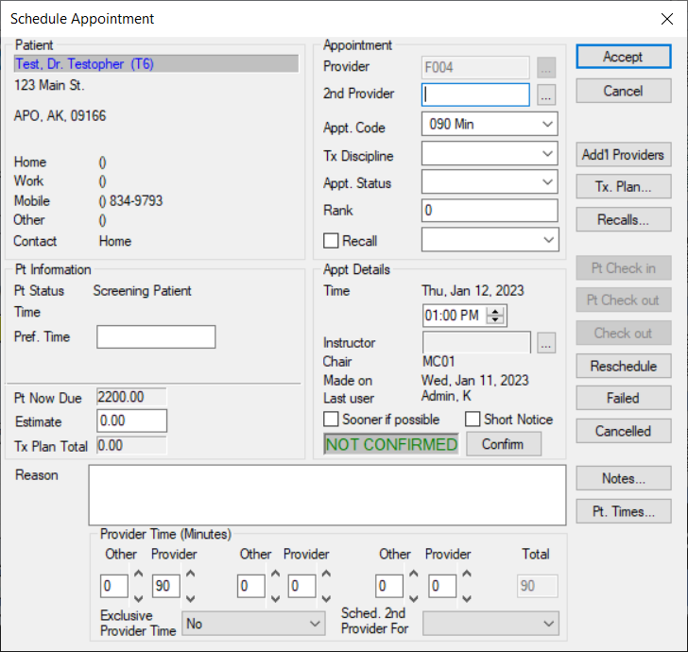
Appointment requests are usually created by students, but then scheduled by another user (i.e., a scheduling clerk or group manager). When creating a request, students can look ahead at the schedule, specify information about the appointment, and request a certain date and/or time. Once received by the appropriate staff member, the request is scheduled, turning it into an active appointment.
Example: A patient is seen by a student and a second visit is required. The student opens the Scheduler and looks for an available chair. They see one for the morning session in two weeks and submit an appointment request for that opening.
Important: When working in a clinic that uses Availability mode to schedule, providers can view the Chair or Active tab in a different mode to see available chairs and submit appointment requests. A staff member can see these requests in the Scheduler > Availability tab and determine if a chair is available in the requested clinic at that time. If available, the staff member can book the appointment and automatically create the chair reservation. Because Availability mode is typically used in undergraduate clinics, student providers often view the Chair or Active tab in Chair mode to see chairs and submit appointment requests. This is not considered mixing methods as the actual scheduling is all done by the staff through the Availability tab.
The Availability tab has three sub-tabs that display any active appointments, appointment requests, and the historic record of all appointment activities for the selected patient. It also allows you to access and review appointment requests made by providers, then schedule the appointments into available time slots based on the request parameters.
Tip: The Scheduler opens the Availability tab by default if the Scheduler Options window > Scheduler Type section > Availability radio button is selected.
Information in a student provider’s appointment request includes the patient name, chair, and type, time, and length of appointment.
Depending on your role permissions, you may review and schedule appointment requests for other providers or may be limited to scheduling your own.
Note: Users that are configured as managers for group(s) of students can review and schedule for other providers. Users that are configured as non-managers can schedule their own requests and can see other requests but cannot schedule other provider’s requests.
You can also perform a variety of other tasks related to appointments from the Availability tab.
Make Appointment Requests
- Open the Scheduler module, click the Chair, Active, or Weekly tab, and review the clinic layout or listed appointments.
- Right-click and select Make Appt Request… to display the Select Patient window.
Tip: If on the Chair tab, right-click a reserved chair cell to auto-populate the Provider field in the New Appointment Request window with the provider the reservation is for.
- Search for and select a patient to display the New Appointment Request window.
- Complete the fields as necessary and click Accept.
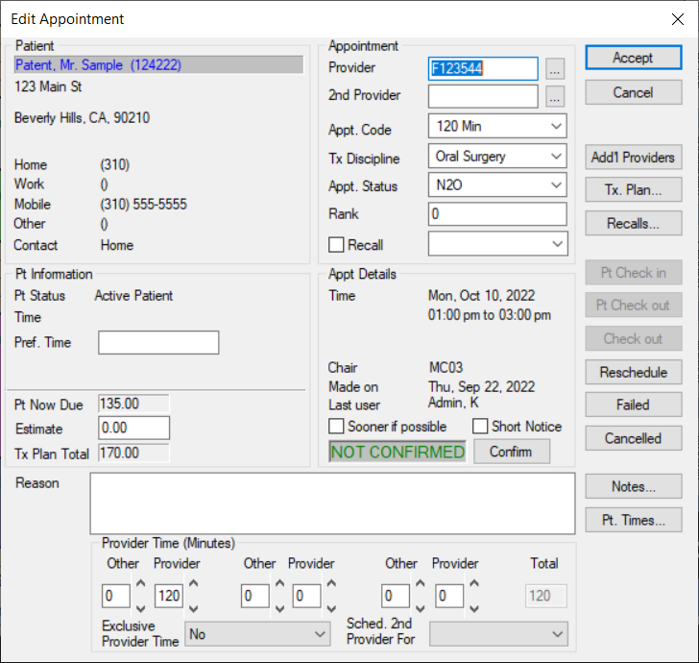
Provider |
This indicates the provider assigned to the appointment.
If necessary, click the ellipsis to display the Providers List window and select another provider.
|
2nd Provider
|
This indicates the secondary provider assigned to the appointment.
If necessary, click the ellipsis to display the Providers List window and select a secondary provider.
|
Appt. Code
|
Select the appointment code for the requested appointment from the drop-down list to indicate the appointment type and length.
|
Tx Discipline |
Select the discipline associated with the requested appointment from the drop-down list.
|
Appt. Status |
Select the status of the requested appointment from the drop-down list.
|
Clinic |
Select the clinic this appointment will be booked at from the drop-down list.
|
Instructor |
Click the ellipsis to display the Instructor List window and select the instructor assigned to this appointment. |
Not Before |
This defaults to the current date.
If necessary, select the earliest date this appointment can be booked from the calendar drop-down.
|
Date |
This defaults to the current date.
If necessary, select another date for the requested appointment.
|
Session |
Select a session for the requested appointment from the drop-down list.
Note: The options available depend on the option set in the Clinic field.
|
Time |
Click the arrow buttons to set the time for the requested appointment.
|
Reason |
Enter the reason for the requested appointment.
|
Recall |
Select the checkbox if the requested appointment is a recall appointment, then select the recall code and date of the recall from the drop-down list.
Tip: If the Appt. Code field is set to a recall code, the checkbox is selected automatically.
-
Select the checkbox if the requested appointment will be associated with a recall appointment reminder.
Tip: If the Appt. Code field is set to a recall code, the checkbox is selected automatically.
-
Click Recalls… to display the Patient Recalls window.
-
Double-click to select a listed recall appointment reminder.
|
Tx. Plan… |
-
Click the button to display the Appointment Treatments window and select planned treatment(s) for the appointment request.
Planned treatments for the patient display in the left pane and planned treatments that have been assigned to an appointment display in the right pane.
Note: Only approved planned treatments display.
Tip: If you want to display all planned treatments, deselect the Hide Inactive Treatments checkbox.
-
Complete any of the following:
-
To add a planned treatment to the appointment request, select the listed treatment and click the > button to move it to the Appointed Treatments pane.
-
To add a new planned treatment to the appointment request, click the Planned Procedure ellipsis to display the Procedure Codes List window and select a procedure.
Example: You need to make an unexpected appointment request for an emergency situation.
|
Note |
Enter any additional information about the appointment request and click Add Note.
Tip: If necessary, you can click Clear Note to remove the text. If you want to remove an added note, click the listed note and click Delete Note.
|
Alert Staff |
Select the checkbox to alert the staff of the appointment request.
Note: If alerted, the request displays in the staff member’s Personal Planner module > Lists tab > Appointments sub-tab and in the Scheduler module > Availability tab. For providers, the request displays in blue text. For non-providers, the request displays in black text.
|
Alert Provider |
Select the checkbox to alert the provider and the secondary provider of the appointment request.
Note: If alerted, the request displays in the provider’s Personal Planner module > Lists tab > Appointments sub-tab and in the Scheduler module > Availability tab in red text.
|
Schedule Appointment Requests
- Open the Scheduler module and click the Availability tab.
-
Click the Provider Requests ( ) icon to display the Providers Requests (Group) window.
Tip: The icon displays in red ( ) if there are new requests that have not yet been viewed. Once the window is open, any new requests display in red text.
-
Filter and review the listed appointment requests as necessary.
-
Select an entry from the Group drop-down list.
Tip: If you are a manager for multiple groups, the field defaults to All Managed. If you are a manager for one group, the field defaults to your assigned group.
Note: Managers are not restricted to their assigned groups.
-
Select the List requests for all providers in group checkbox.
Tip: When selected, the List requests for all providers in group checkbox also lists all appointment requests within the group in the order they were received. This is useful if your institution uses the FIFO method (first in, first out).
-
Select a listed provider.
Tip: Providers with unscheduled requests display in red text.
-
Right-click a listed request and select Schedule to display the request in the Availability tab > Request sub-tab.
Tip: You can also double-click to select and display a request in the Request sub-tab.
Note: If there are any other appointment requests for that patient, all are listed in the Availability tab > Request sub-tab regardless of whether they are for other providers.
-
Review the lower pane to view the provider’s availability for the day and any procedures attached to the request.
-
Set the clinic and chair.
-
From the Clinic drop-down list, select an option.
-
Under Chairs/Instructors Available, select a listed chair.
Note: Chairs that have appointments booked in them even if just for part of the session will not display in the list.
-
From the Availability tab > Request sub-tab, right-click a listed request and select Make Appointment to display the Schedule Appointment window.
Tip: You can also select a listed request and click the Make Appointment ( ) icon to display the Schedule Appointment window.
-
Review the fields as necessary and click Accept.
Manage Appointment Requests
- Open the Scheduler module and click the Availability tab.
-
Click the Select Patient ( ) icon to display the Select Patient window and select a patient.
- Review the Active, Request, and History sub-tabs as necessary.
- To perform another task, complete any of the following:
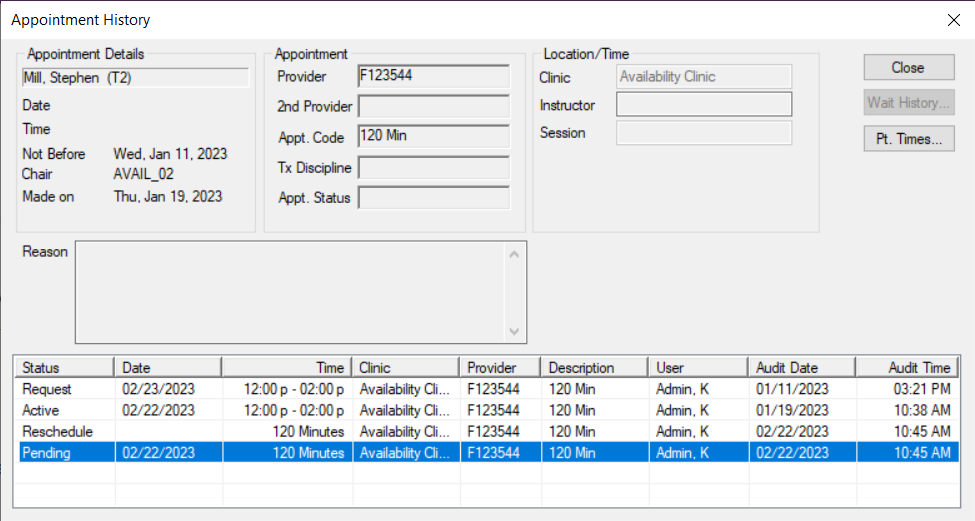
View Appointment History
-
Right-click an appointment and select Show History... to display the Appointment History window.
-
Select a listed record and review the information as necessary.
Confirm Appointments
-
After contacting the patient, right-click the appointment and select Confirm.
The appointment text displays in blue to indicate that the appointment is confirmed.
Fail Appointments
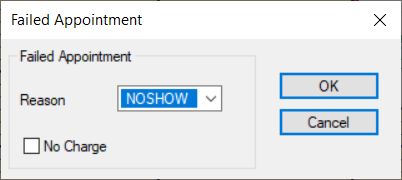
An appointment can be failed when the patient does not arrive for the appointment and did not provide cancellation notice.
-
Right-click an appointment and select Failed to display the Failed Appointment window.
-
Complete the fields as necessary and click OK.
Print Appointment Forms
-
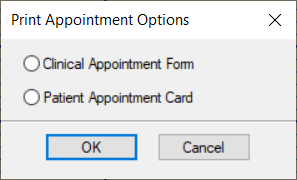
Right-click an appointment and select Print Appt Form to display the Print Appointment Options window.
-
Select one of the following and click OK:
|